Introduction
While primarily focused on gameplay, the Corgi Engine includes GUI elements here and there to communicate with the player. Usually meant as placeholders (as you’re likely to replace these with your own art/style), it can still be useful to understand how these work.
UI Camera
Most levels of the engine feature two cameras : a regular 2D or 3D camera, and a UI Camera. The latter is responsible for displaying the game HUD, and other non-world visual elements. If you look at the UICamera prefab, you’ll see it also contains buttons, arrows, a joystick, a pause splash screen, etc. All these are controlled by the GUI Manager, a component located at the top level of that prefab. Each of these parts are bound to the GUI Manager’s inspector.
GUI Manager
All UI elements have their own API, and you can of course use them separately as you wish. The demos rely on a GUI Manager (located on the UI Camera in most demos) to centralize data and pass it to the various elements of the UI. So typically, it will let you automatically update health bars, jetpack bars, ammo displays and more, as long as you bind them to its inspector.
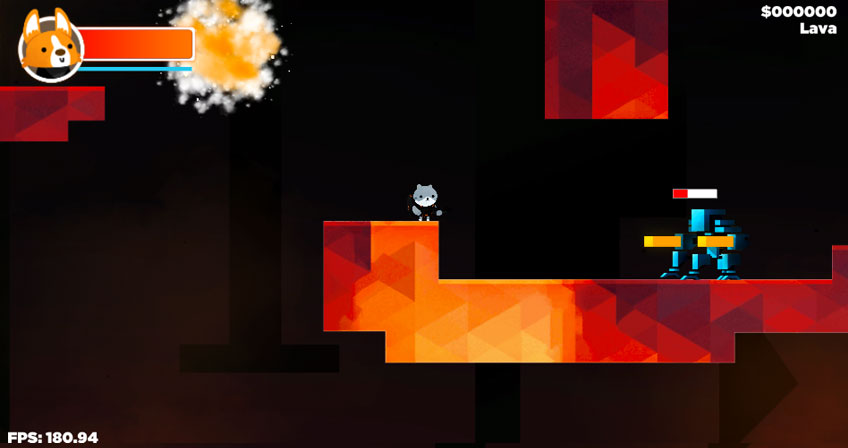
Game HUD
A subpart of the UICamera prefab, the HUD features a jetpack bar, a health bar, an avatar, but also points, level name, and a FPS counter. All that is bound to the GUIManager and updated via its various methods. Feel free to change their look, fonts, etc.
Pause Screen
The pause screen is a subpart of the UICamera, containing a black overlay, some text and a few buttons. You can (and should) of course customize it to feature your own buttons and art style. To do so, all you have to do is unfold the UICamera prefab, locate the PauseSplash part, and make your changes there.
Dialogue Boxes
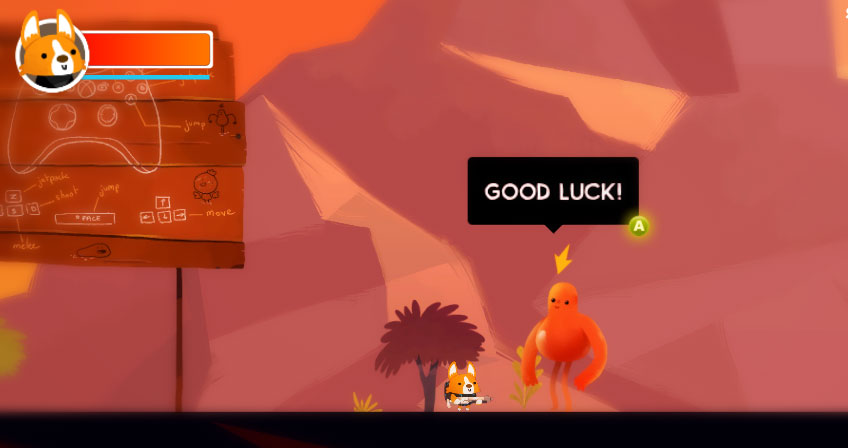
The engine includes a very simple dialogue system, allowing you to display one-way dialogues or tooltips anywhere you want in your levels. To use it, all you need is a zone. A zone is simply a gameobject with a BoxCollider2D on it, determining where the character needs to be for the zone to be activable. Then all you have to do is add a DialogueZone component to it. That zone can also be attached to a character (just nest it under your character in your hierarchy and it’ll follow it around).
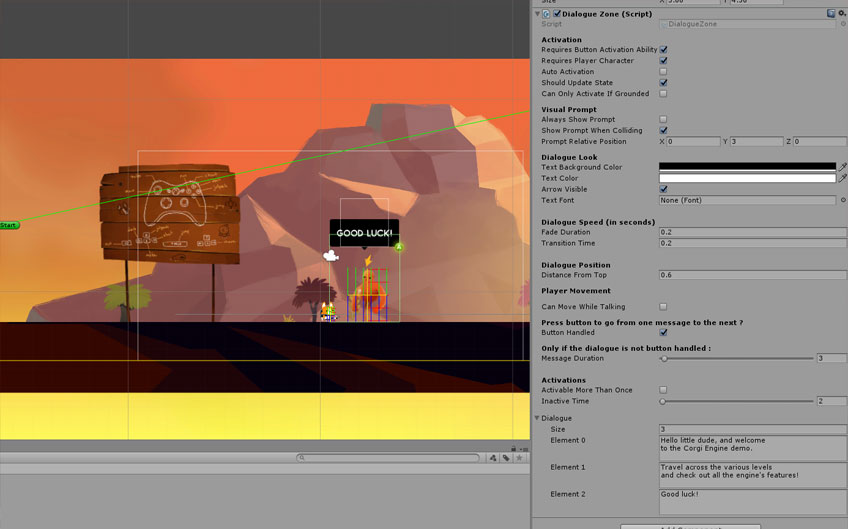
Once the DialogueZone component has been added, all you have to do is setup its inspector. There are a number of activation related checkboxes that will allow you to decide how and when the dialogue can be activated. You can also decide to show a prompt (by default a small “A” icon, feel free to replace it with whatever you want). Then you can change the dialogue box look, by tweaking the text and background color, or the font. At the very bottom of the inspector is where you can define the dialogue lines. If you have more than one, they’ll be displayed sequentially, from top to bottom.
Menus
Most menus, the start screen for example, are based on Nice Touch, just like the mobile controls. This allows for very simple setup, and cross platform functionality, whether you’re targeting a touch based device or not. Just make sure your panels and touch zones are setup properly for your specific target (mouse mode should be on for PC).
Healthbars
Healthbars are components you can add to any Character with a Health component. It will allow you to display, next to your character, a progress bar showing its current health level. It’s pretty simple to setup : you can decide whether you’d rather use a ProgressBar prefab, or just have the engine draw it. In this case you can select a front and back color, decide on a padding and size, and an offset to place the bar relative to your character’s center. Additionnally, you can have it be always visible, or only for a number of seconds after each hit taken by the character.