Introduction
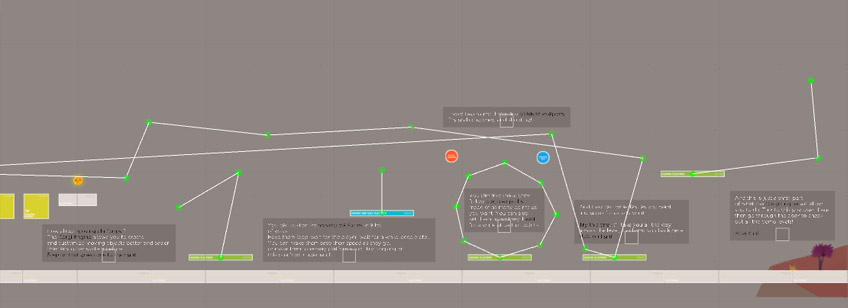
Creating moving platforms in the Corgi Engine is very simple, yet there are a lot you can do with them, and a lot of ways to tweak them to your unique needs. For examples of moving platforms, you can check the right end of the FeaturesPlatforms demo level, it shows a few examples of what you can achieve.

Creating a moving platform
- Start by dragging a sprite in your scene, or a 3D model
- Select your newly created game object, and set its layer to “MovingPlatforms”
- Add a non trigger BoxCollider2D to it
- Add a Rigidbody2D component to it, set its BodyType to Kinematic
- Add a MovingPlatform component to your object.
- You’re done! All that’s left to do is tweaking the MovingPlatform’s component’s inspector, typically you’ll want to start by adding a few entries in its PathElements list, which determines the points the platform will move through
Setting up moving Platforms
From the MovingPlatform’s inspector, there are a few things you can tweak.
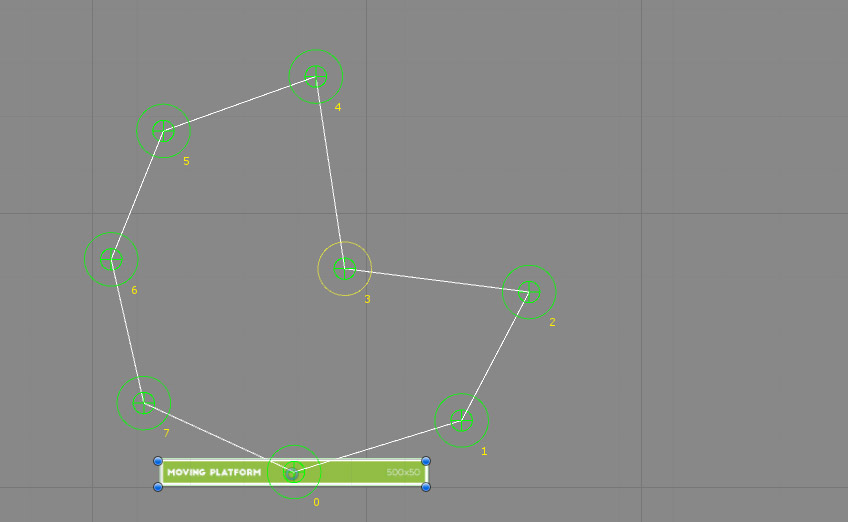
First of all there’s the Path, which is the list of points the platform will go through. You can first decide on a Cycle Option. You can select Back and Forth (it’d go 1 > 2 > 3 > 2 > 1 > 2 etc), Loop (1 > 2 > 3 > 1 > 2…), and Only Once (1 > 2 > 3). Then there’s the loop initial movement direction, which depending on your choice will start the movement either with the first (ascending) or last (descending) point in the path. And then of course there’s the actual Path Elements where you’ll need to specify an array’s size. From there, you can either enter the points coordinates, or simply drag and position the little handles that appeared next to your platform to the position of your choice.

Once you’re happy with their placement, you can go back to the inspector, and set the movement’s speed and acceleration type. The MinDistanceToGoal field is best left to its default value but feel free to change it if necessary. Lastly, you can decide on a few Activation settings, allowing your platform to only move when a Player collides with it, and whether or not it should reset position. You can also decide your platform is script activated, which is particularly useful for key operated platforms/doors.
One Way Moving Platforms
Creating a one-way moving platform (meaning a moving platform you can jump through from underneath, or jump off down) is super simple. Just repeat the same process (or select an already created moving platform) and set its layer to “MovingOneWayPlatforms”.
Free Moving Platforms
Introduced in v6.5 of the Corgi Engine, free moving platforms let you turn anything into a moving platform. All you’ll need on your object is a collider 2D, and a MovingPlatformFree component. Make sure the layer is set to MovingPlatforms. From there, you can move that object however you’d prefer, using a script, physics, or even by dragging it with the mouse in editor, any CorgiController equipped character that walks on it will “stick” to it, like it would any normal platform. For examples of this, don’t hesitate to check the MinimalMovingPlatforms demo scene.
Creating a jumper moving platform
- in Unity 6000.0.23f1 (or higher), create a new project and import Corgi Engine v9.4 via the Package Manager
- open the FeaturesPlatforms demo scene
- drag a MovingPlatform prefab in the scene, at -72,-2,0
- create an empty game object, nest it under it, call it Jumper
- add a jumper script to it, set its JumpPlatformBoost to 5
- add a BoxCollider2D, set it to trigger, and its size to 5,1
- press play, enjoy
Using an agent as a moving platform

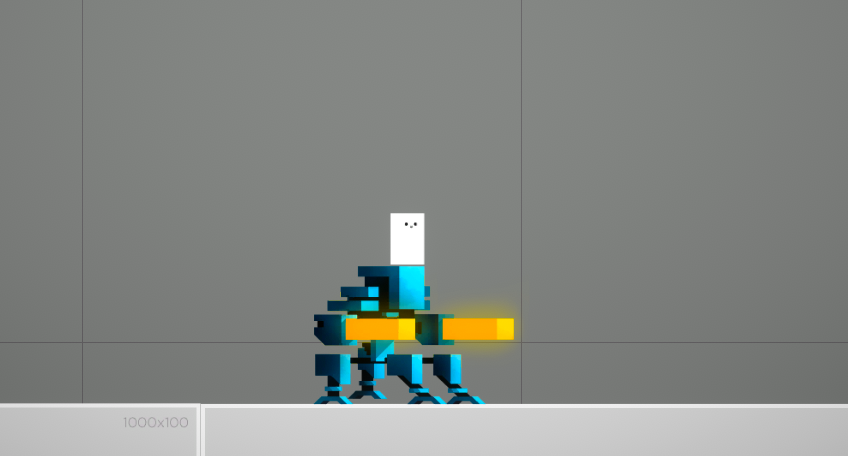
You can also use friends or enemy NPCs as moving platforms. You’ll find an example of a (harmless) blue robot that can carry you around in the MinimalMovingPlatforms demo scene. Setting that up is super easy, simply nest a one way platform under your AI, and it’ll move around with it. You’ll want to make sure you add a MovingPlatformFree script to it.